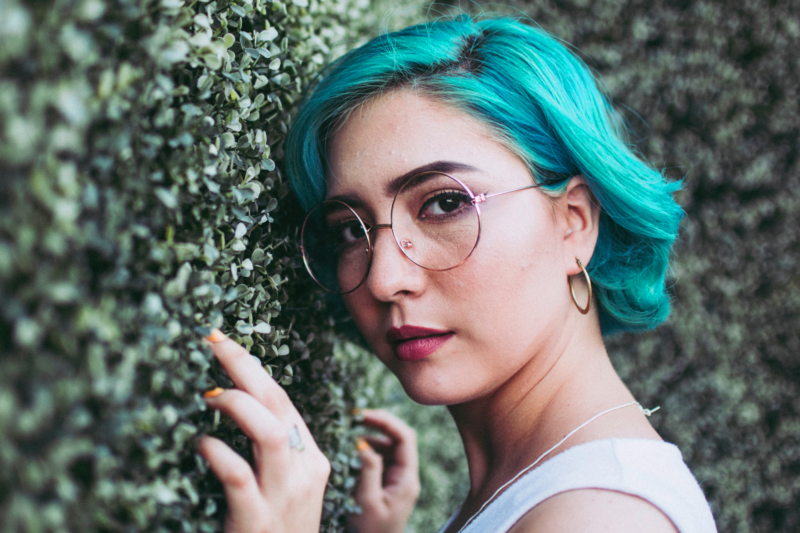
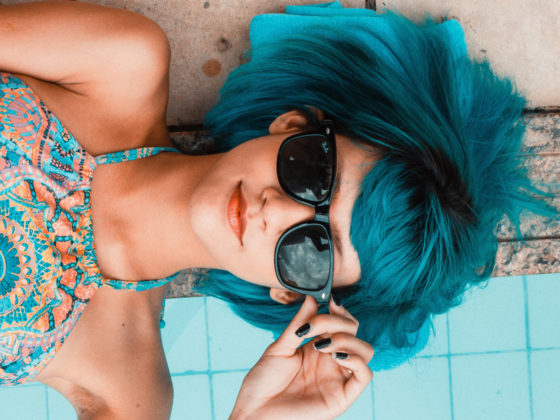
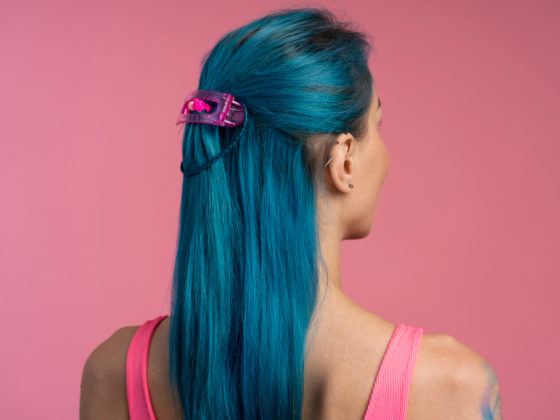
You have dark hair and you really want the mermaid look.
You’ve seen tons of pictures and you’re convinced that turquoise is your color.
However, there are a lot of things you need to know and consider before you dye your hair.
Dying (if not done properly), can really damage your hair or worse – not get you the color you want.
So, you need to do it step by step and be patient, and use really good products if you want to see good results.
Please note that this process is long and time-consuming but it will ensure that you get the best results with the least damage. That’s what you need to aim for when coloring your hair.
This is a very detailed guide that you should read once before following the instructions. Please bookmark it so you can keep coming back to it to read it.
Let’s begin.
This post contains affiliate links, meaning I may make a commission at no extra cost to you if you decide to click on a link and purchase something. Click here to read the full disclaimer.
What do you need to dye your hair turquoise?
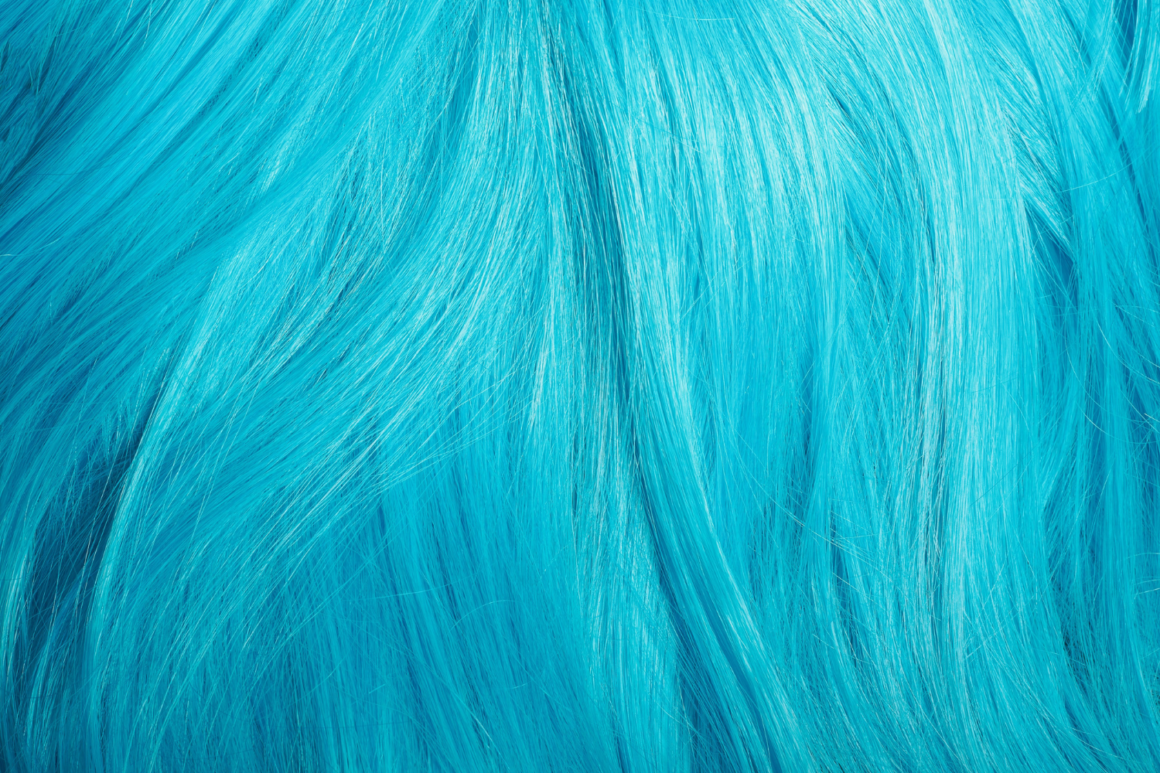
In this post, I will be discussing how to dye brown hair turquoise.
These are the products we will be using:
- Lightener powder (this is one of the best powders with the least damaging effects for bleaching)
- 30% developer (for bleaching)
- A bleach applicator set (includes a bowl, gloves, tint brush, hair clips, etc. for your hair coloring and dying process)
- L’Oreal Paris Toner (to color correct your bleached hair before coloring it turquoise)
- Manic Panic Atomic Turquoise (super vibrant, pigmented, and very beautiful)
Can I dye my hair turquoise/teal without bleaching it?
Unless your hair is very light blonde or platinum blonde, you will have to bleach your hair in order to dye it turquoise or teal.
If you have dark hair, then the turquoise or teal color won’t be heavily pigmented.
Turquoise and teal are bright shades, so you need to pre-lighten or bleach your hair to get the color to look vibrant and pigmented.
How many jars of Manic Panic Atomic Turquoise do I need to dye my hair?
If you have short hair, you only require 1 jar.
If you have shoulder-length hair, you need 2 jars.
You require 3 jars if your hair is to the small of your back.
Step 1: Prep your hair for bleach
1. Here are the materials you will require
- Lightener powder (this is one of the best powders with the least damaging effects)
- 30% developer
You will also require additional products or a bleach applicator set that includes:
- Gloves
- Bleach applicator brush
- Bowl
- Hair clips
- Plastic cap
If you don’t want to individually get these items just get the whole bleach applicator set here.
2. Don’t wash your hair
Please don’t wash your hair before bleaching it because
- Washing your hair causes little abrasions on your scalp (this will make bleaching very painful because the bleach will penetrate those scrapes and burn your scalp).
- You will have sebum buildup (oil generated from the glands in your scalp when you don’t wash your hair) that will protect your hair from the damage of bleach.
It’s alright if you have products in your hair like moose, gel, or cream. Bleach is pretty strong and will go through those products to get to your hair cortex (the center layer of your hair strand) – no problem.
3. Ensure you don’t make a mess
Please wear an old tee shirt when you bleach your hair.
Bleach will get everywhere. Put down some old towels and make sure you cover your counter with plastic to make sure you don’t get it on your furniture either.
4. Detangle your hair properly

Make sure you brush your hair and remove all the knots and tangles before bleaching.
You cannot bleach tangled or knotted hair, the bleach is not going to distribute evenly to all your hair strands.
If you don’t detangle your hair before bleaching, you are going to end up with weirdly colored spots and dark sections.
5. Separate your hair into sections
Now, using a comb, separate your hair neatly into 4 sections.
This will ensure that you can focus on 1 section at a time and get good coverage.
How to section your hair properly:
- Using a comb divide your hair into sections by running the comb in the middle of your hair from the forehead to the nape of your neck.
- Next, divide each section into 2 more sections by running the comb horizontally in the middle.
- Clip the sections using these hairclips. This will make it easy for you to section your hair and focus on 1 section at a time.
Important:
Your hair needs to be dry when applying the beach. Do not apply bleach to wet hair. Wet hair will dilute the bleach and not be as effective.
Now, since your hair is dark brown or black, you will have to bleach 2 times to lighten your hair and get it to become a light blonde.
Step 2: Mix the bleach and developer
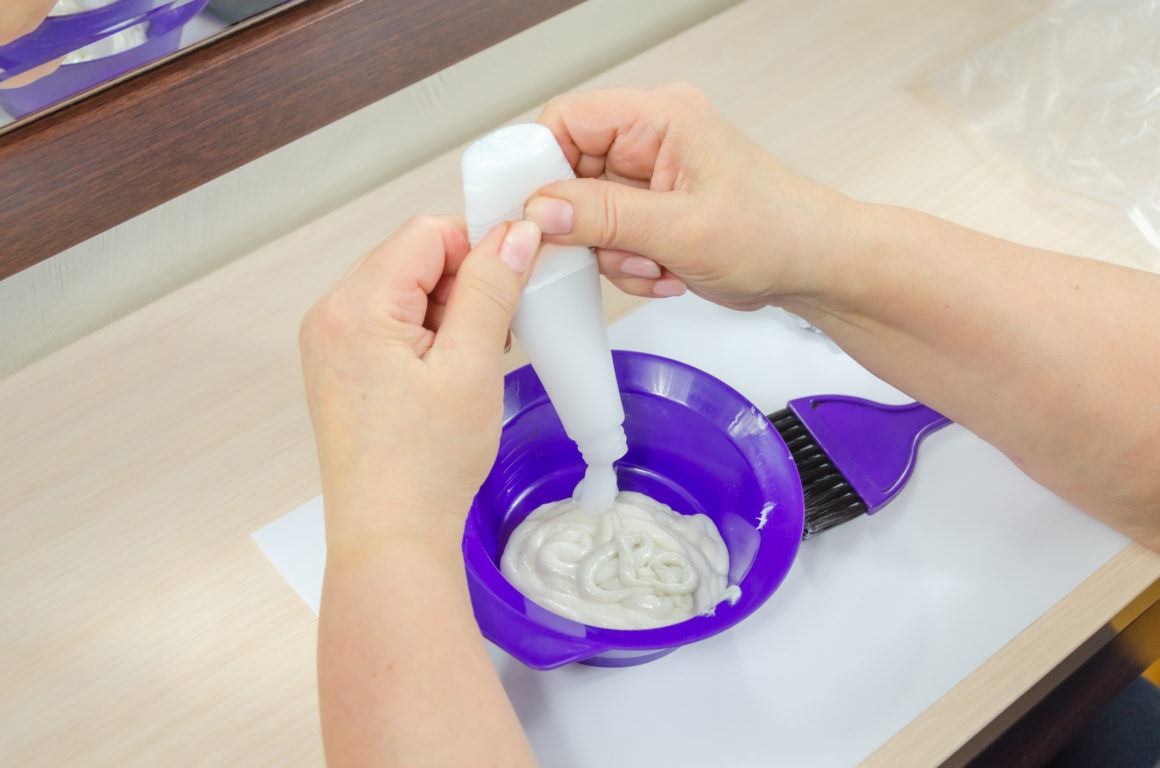
This is where a lot of people actually mess up.
You need to be very careful and follow instructions carefully to mix your bleach.
You want to lift the brown or black hair color molecules from your hair with minimal damage.
There are different types of developers you can use to bleach your hair and each developer has a different function:
- 10% volume is for light hair trying to go darker, this is not what you will be using. It doesn’t even open the hair cuticle and lift the color. It is merely used for depositing color.
- 20% volume is for people with gray hair and other hair colors. For instance, if you have some gray hair and you want to color your gray hair and the other colored hair, you will be using this developer. It changes the color of your gray hair color and other colored hair. Let’s say you have brown hair and gray hair and you want to color it red, or purple. This is what you will use. This is only used for 1-2 levels of lift.
- 30% and 40% volume developer is for darker hair colors. So, if you have naturally brown or black hair and want to color it blonde or pink, then you need to use a 30% or 40% developer with bleach or color.
If you have brown or black hair (which has never been colored before) and you want that beautiful vibrant teal/turquoise then you will need to use 30% volume developer with bleach. I highly recommend not using 40% volume at home because it is very harsh and damaging and is best done by a professional in a salon.
In a bowl, you’re going to want to mix the 30% volume developer and lightener powder. I highly recommend the Wella Blondor Multi Blonde Powder Lightener.
Every lightener is different in terms of mixing, so please read the instructions to see what ratio you need to mix the developer and lightening powder in.
This will help you get the best results.
Make sure that the powder is probably mixed in with the developer. You don’t want any granules in the mixture.
Please use a lot of lightener. It’s okay if you have extra but you cannot afford to have less. This will result in splotchy hair.
Step 3: Apply the bleach and lightener to your hair
Put on your gloves because you don’t want to get bleach on your skin.
Apply some vaseline to your hairline and neck so that the bleach doesn’t burn your skin even if it spills onto your forehead and neck.
You are going to start with the back two quadrants of your hair first.
Start with the mid-lengths and tips first – not the roots.
Make sure you apply a generous amount such that it coats the hair evenly like this. You will want to take little hair at a time and coat the lightener on properly.
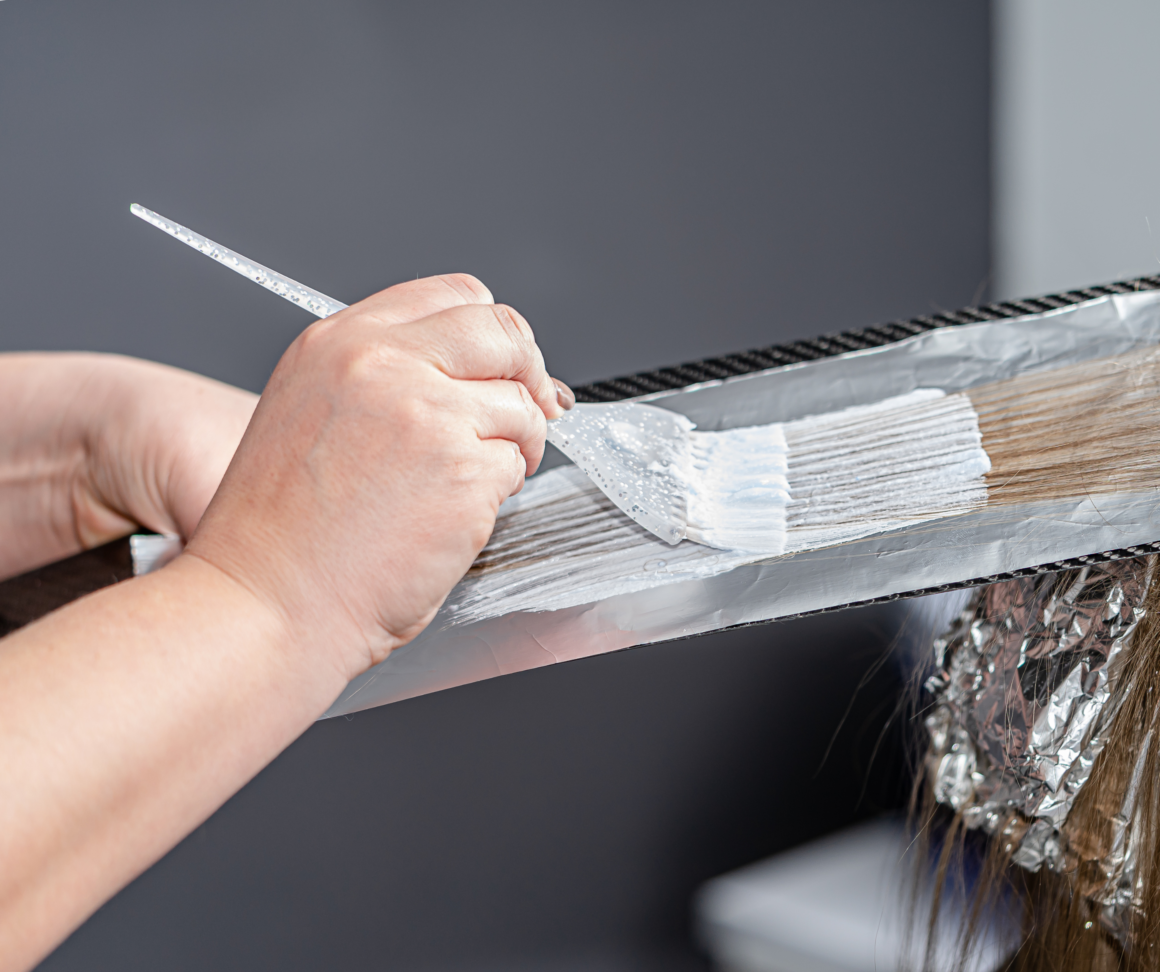
Do not color the roots first because the heat from the scalp will bleach them much more quickly. So, please color from the mid-lengths till the tips and wait for about 10-15 minutes.
Once you’re done with the back quadrants, do the front quadrants.
After 15 minutes of coloring the whole hair, you will notice that your hair is starting to lighten.
Now, you can go in and color the roots.
Make sure that you do not bleach your scalp otherwise, it’s going to burn your skin. Be very careful.
If you have colored hair (that’s not originally brown or black but box dyed), please lighten the sections that are the darkest first. And do the roots last.
Spray some water gently on your hair and cover it with a plastic bag. The water will steam in your hair and the moistness will help the developer work better.
Please do not comb your hair when it has bleach in it. Your hair is very fragile and delicate – your hair could break or fall off.
Leave the bleach on for 45-60 minutes. Please read the box to make sure that you’re doing it correctly.
Bleach doesn’t work after an hour. It has no effects since it completely dries up.
You will want your hair to look pale yellow like this:
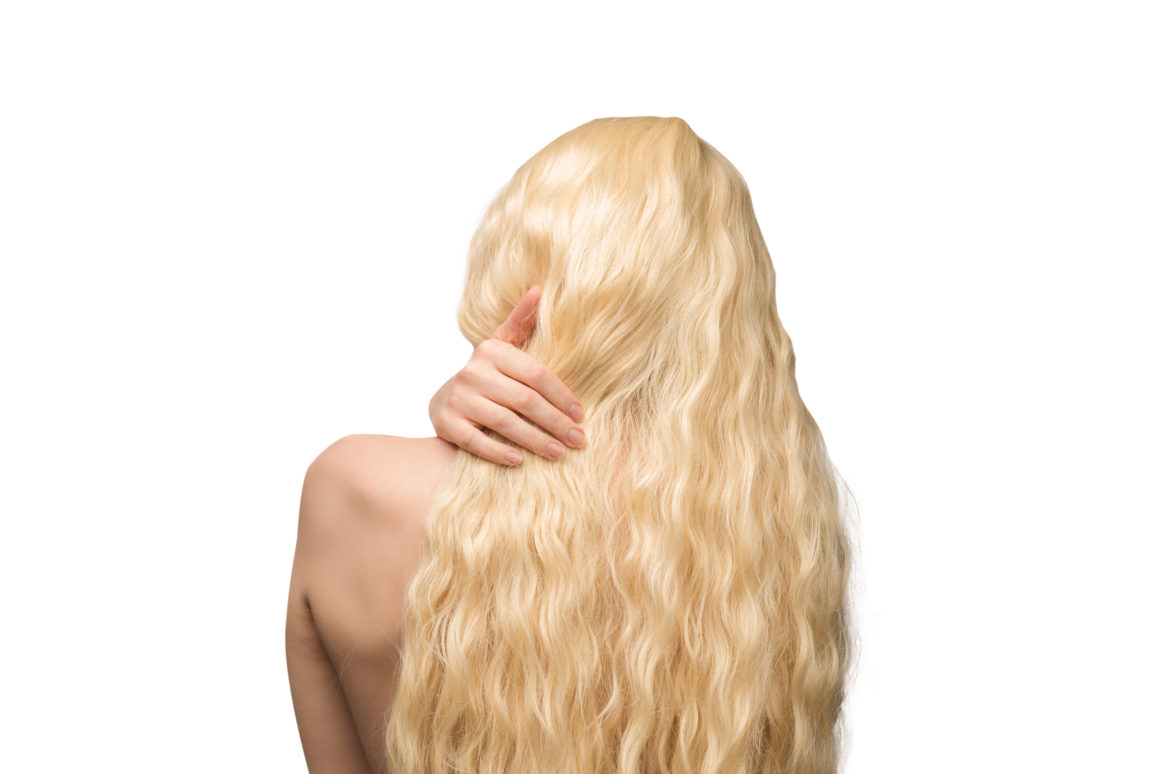
If your hair is still orange, then leave the lightener on for longer.
Please keep evaluating your hair every fifteen minutes. If you stretch a strand where it breaks too easily, then you will want to take the lightener off.
Step 4: Wash your hair
Make sure you use lukewarm water (not cold) to rinse the lightener off your hair.
Your hair has expanded and is very delicate. If you use cold water, it will damage your hair at this point.
So, make sure you use warm water.
Do not scrub your hair or massage your scalp vigorously because your hair is fragile.
Be very gentle and wash your hair at least 2 times to get it all out.
After washing your hair, please evaluate your hair again.
Step 5: Tone your hair
If you color your hair turquoise when your hair is light yellow, you will get a teal color (that’s more green). Because yellow + turquoise = teal.
If you want turquoise, that’s more towards blue, you will require to tone your hair to make it more platinum blonde. Because white + turquoise = turquoise.
Please don’t box-dye your hair platinum blonde. Your hair is fragile due to the bleaching and will get damaged or worse, fall off.
So please use a toner. Toner will sit on top of your hair cuticle. It’s not going to damage your hair at all and will actually make your hair look healthy and strong.
Now to choose the right toner, you will need to understand a tiny bit of color theory.
The job of a toner is to take your hair looking from yellow blonde to a more neutral blonde. It tones your hair.
Please read more about how toner works here if you need to understand it.
But when choosing a toner, you need to cancel out the shade in your hair to get a neutral shade.
So, if your hair is more orange, you need to use a blue toner. To help you understand what color toner you need to use, simply use the opposite color on the color wheel.
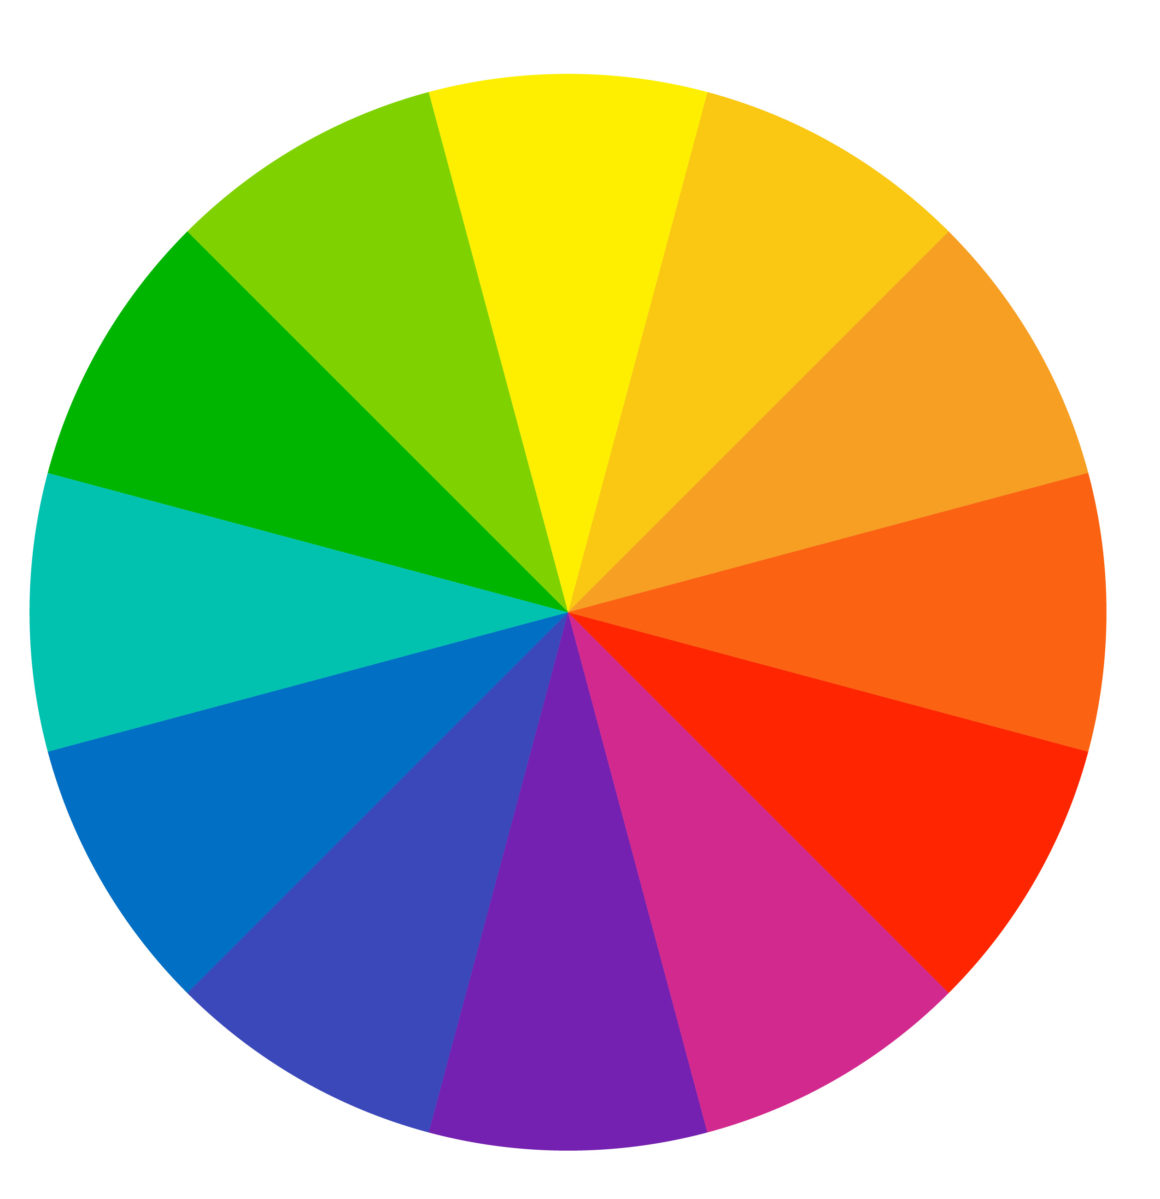
So, if your hair is more yellow, you would need a purple toner. You can simply use a toner like this to get your hair looking less brassy to more white.
Please follow the instructions inside the Toner box as every Toner has a different method of application.
Once your hair is toned, it will be ready for color application.
Step 6: Color your hair
1. Rinse your hair and blow dry it
After toning your hair, you will need to rinse it thoroughly and get rid of the toner before blow-drying it.
Your hair needs to be bone dry before you color it.
Blowdrying your hair will also make it very porous and this will absorb the color better and look more vibrant and beautiful.
2. Gather your colors
For coloring your hair turquoise, I highly recommend these:
- Manic Panic Atomic Turquoise (super vibrant, pigmented and stunning)
- L’Oreal Paris Colorista Turquoise (second best in my opinion)
Once your hair is platinum blonde, you can now go ahead and color your hair almost any color you want.
However, you are looking at a tutorial that’s about how to dye brown hair turquoise so let’s get out our turquoise hair dye from Manic Panic.
3. Apply the color to your hair
Put on your gloves and using a tint brush, apply the color evenly to your hair.
Make sure that you are wearing an old tee shirt so you don’t ruin your good clothes.
Use a lot of the color so that you don’t have any spots and you’ve covered all of your hair.
Comb through your hair to make sure that it coats every single hair strand.
4. Cover with a plastic bag
After you’re sure your whole hair is colored, cover it with a plastic headwrap and blowdry a bit over the wrap to heat your hair.
It will help the hair absorb the color better.
Leave it for 45 minutes.
5. Rinse off the color
Rinse off the color in cool water and don’t use any shampoo when rinsing.
Style as required.
And you’re done!
You’ve just dyed your brown or black hair turquoise!

Enjoy.
Frequently Asked Questions
Can I dye my hair turquoise/teal without bleaching it?
As I said before, if you have dark hair, you need to bleach it and lift the dark color molecules off your hair so that you can color it another brighter color.
Turquoise, purple or pink won’t show properly on brown or black hair. It might show on blonde hair but the tone will differ based on the type of blonde the hair is.
How light does my hair have to be to color it teal or turquoise?
Your hair has to be light blonde or platinum blonde.
If your hair is more yellow blonde than platinum blonde, the turquoise shade will look more teal (more greenish hue) due to the underlying yellow color in the hair.
This is why you need to tone your hair with toner in order to get the proper turquoise shade.
How long can you leave manic panic atomic turquoise in your hair?
You can leave it for up to 45 minutes in your hair.
Apply the Manic Panic color onto your hair when it’s bone dry. After application, cover your head with a plastic cap and blowdry over it. This will make the absorption process easier as your hair strands become more porous.
Rinse with cool water afterward and dry your hair naturally or with a blowdryer.
You can check out the Manic Panic Atomic Turquoise color on Amazon here.
Is turquoise hair hard to maintain?
It depends on multiple factors:
If you go out in the sun a lot, wash your hair a lot with shampoo or use a lot of hair products, it will lighten considerably with a few washes.
If you have bleached and toned your hair well, it will easily last you 3 months minimum before you have to do a touchup.
You have to condition your hair a lot when you color your hair.
I highly recommend John Frida’s Purple Shampoo and Conditioner. Both of these will give you that salon-worthy colored hair.
Is it easy to remove turquoise from your hair?
Blue tones (turquoise) are the hardest color to get out of hair. But I do have a post that explains how you can remove turquoise color from hair with the least amount of damage.
